-
Looking for a fair untanned skin texture
Well ... you could buy this:
http://www.daz3d.com/victoria-4-for-genesis-2-female
and use Danae on G2F ...
How to make V4/M4 full body MATs?Okay, so if you have a JPEG texture that covers head, torso and nipple, where do you put that texture map in Carrara?
It should go in the Color channel of all the material zones that use that map. For V4 that would be any zone that starts with "2," such as 2_SkinHip, 2_SkinTorse, 2_Nipple, 2_SkinHead, 2_SkinNeck.
because if you upload the JPEG to nipple, it's not going to result in the nipple portion of your texture map JPEG covering the nipple. It's going to put the entire JPEG just on the nipple. So how do I tell Carrara that I want these three zones covered with one texture map.
This is incorrect. If you apply the jpeg to the nipple it will not result in the entire map covering the nipple. Only the part of the image assigned to the nipples will be applied to the nipples; you don't have to do anything for this to happen, it was taken care of when the creator of the figure UV mapped it. You just need to make sure that your new nipple texture is on the right part of the image - look at an existing texture for that figure to see where it should go.
2) Open Carrara and apply that texture map JPEG to multple shading domains (e.g. ARM/HAND/NAILS) without having to use a premade figure's texture maps (as in, with a purchased figure, I just click the icon and some magic happens wherein it spreads one texture map across several domains and those domains understand how they're supposed to populate). I'm assuming this is some kind of special coding or something, as it's nothing intuitive that I can do in Carrara. Like, if I apply that ARM/HAND/NAILS texture map JPEG to just the hand, it's not going to populate correctly.
- Select the model level of your character
- Go to the texture room
- Under each material zone open up that material and change the Color channel to a Texture Map and load your texture there - for example, for a V4, load your image with the arm/hand/nails to any zone that starts with "3," such as 3_SkinArm, 3_SkinForearm, 3_Fingernail, 3_SkinLeg, 3_SkinFoot, 3_Toenail
- Repeat for all zones - on V4 and Genesis,any material zone that starts with a number uses the same texture map as any other zone with that material (all the 3_whatever zones use the same map, all the 4_zones use the same map, etc.)
For Victoria 4 the basic maps usually used are Face, Torso, Limbs, Mouth, Eyes and Lashes and those maps are applied to the material zones as listed below.
- Face: any zone that starts with "1," such as 1_Eyesocket, 1_SkinFace, 1_Lip, 1_Nostril, 1_Eyebrow
- Torso: any zone that starts with "2," such as 2_SkinHip, 2_SkinTorse, 2_Nipple, 2_SkinHead, 2_SkinNeck
- Limbs: anyzone that starts with "3," such as 3_SkinArm, 3_SkinForearm, 3_Fingernail, 3_SkinLeg, 3_SkinFoot, 3_Toenail
- Mouth: any zone that starts with "4," such as 4_InnerMouth, 4_Gums, 4_Teeth, 4_Tongue
- Eyes and Lacrimal: any zone that starts with "5," such as5_Lacrimal, 5_Cornea, 5_Sclera, 5_Iris, 5_Pupil
- Lashes: 6_Eyelash
Genesis and Gensis 2 use pretty similar setups, although the exact names may vary and Genesis 2 has an additional eye surface material.
Once you have all your maps assigned to the right material zones you can then drag and drop the top-level mutlicolored ball to your browser to save it for use on other characters.
That hasn't been my experience. If you load the V4 figure and then open the hand shader and apply a texture map to it that I cluf
Okay, so if you have a JPEG texture that covers head, torso and nipple, where do you put that texture map in Carrara?
It should go in the Color channel of all the material zones that use that map. For V4 that would be any zone that starts with "2," such as 2_SkinHip, 2_SkinTorse, 2_Nipple, 2_SkinHead, 2_SkinNeck.
because if you upload the JPEG to nipple, it's not going to result in the nipple portion of your texture map JPEG covering the nipple. It's going to put the entire JPEG just on the nipple. So how do I tell Carrara that I want these three zones covered with one texture map.
This is incorrect. If you apply the jpeg to the nipple it will not result in the entire map covering the nipple. Only the part of the image assigned to the nipples will be applied to the nipples; you don't have to do anything for this to happen, it was taken care of when the creator of the figure UV mapped it. You just need to make sure that your new nipple texture is on the right part of the image - look at an existing texture for that figure to see where it should go.
2) Open Carrara and apply that texture map JPEG to multple shading domains (e.g. ARM/HAND/NAILS) without having to use a premade figure's texture maps (as in, with a purchased figure, I just click the icon and some magic happens wherein it spreads one texture map across several domains and those domains understand how they're supposed to populate). I'm assuming this is some kind of special coding or something, as it's nothing intuitive that I can do in Carrara. Like, if I apply that ARM/HAND/NAILS texture map JPEG to just the hand, it's not going to populate correctly.
- Select the model level of your character
- Go to the texture room
- Under each material zone open up that material and change the Color channel to a Texture Map and load your texture there - for example, for a V4, load your image with the arm/hand/nails to any zone that starts with "3," such as 3_SkinArm, 3_SkinForearm, 3_Fingernail, 3_SkinLeg, 3_SkinFoot, 3_Toenail
- Repeat for all zones - on V4 and Genesis,any material zone that starts with a number uses the same texture map as any other zone with that material (all the 3_whatever zones use the same map, all the 4_zones use the same map, etc.)
For Victoria 4 the basic maps usually used are Face, Torso, Limbs, Mouth, Eyes and Lashes and those maps are applied to the material zones as listed below.
- Face: any zone that starts with "1," such as 1_Eyesocket, 1_SkinFace, 1_Lip, 1_Nostril, 1_Eyebrow
- Torso: any zone that starts with "2," such as 2_SkinHip, 2_SkinTorse, 2_Nipple, 2_SkinHead, 2_SkinNeck
- Limbs: anyzone that starts with "3," such as 3_SkinArm, 3_SkinForearm, 3_Fingernail, 3_SkinLeg, 3_SkinFoot, 3_Toenail
- Mouth: any zone that starts with "4," such as 4_InnerMouth, 4_Gums, 4_Teeth, 4_Tongue
- Eyes and Lacrimal: any zone that starts with "5," such as5_Lacrimal, 5_Cornea, 5_Sclera, 5_Iris, 5_Pupil
- Lashes: 6_Eyelash
Genesis and Gensis 2 use pretty similar setups, although the exact names may vary and Genesis 2 has an additional eye surface material.
Once you have all your maps assigned to the right material zones you can then drag and drop the top-level mutlicolored ball to your browser to save it for use on other characters.
Whoa. I swear that I tried this a hundred different ways in 7.2 and it never worked. But I just tried it now in 8.5 (which I just recently picked up) and it worked.
So...problem solved. I don't understand it, but it totally does exactly like you said. Even if the ears, nipples, etc, is in the same map with the torso, when you apply it to a shading domain for the torso, it totally knows what to do with it.
Cool beans! Thanks all! :DGenesis 3 anatomical elements textures?It is insane that you must purchase the Victoria Pro Bundle to get the Genesis 3 genitalia. There are literally zero things in that bundle, other than Victoria herself, that I want or need aside from the genitalia prop. And then, just to make it even worse, the Pro bundle comes with exactly zero materials that actually support the gernitalia prop. The basic material set that comes with Genesis 3 doesn't support it either.
How to make V4/M4 full body MATs?Okay, so if you have a JPEG texture that covers head, torso and nipple, where do you put that texture map in Carrara?
It should go in the Color channel of all the material zones that use that map. For V4 that would be any zone that starts with "2," such as 2_SkinHip, 2_SkinTorse, 2_Nipple, 2_SkinHead, 2_SkinNeck.
because if you upload the JPEG to nipple, it's not going to result in the nipple portion of your texture map JPEG covering the nipple. It's going to put the entire JPEG just on the nipple. So how do I tell Carrara that I want these three zones covered with one texture map.
This is incorrect. If you apply the jpeg to the nipple it will not result in the entire map covering the nipple. Only the part of the image assigned to the nipples will be applied to the nipples; you don't have to do anything for this to happen, it was taken care of when the creator of the figure UV mapped it. You just need to make sure that your new nipple texture is on the right part of the image - look at an existing texture for that figure to see where it should go.
2) Open Carrara and apply that texture map JPEG to multple shading domains (e.g. ARM/HAND/NAILS) without having to use a premade figure's texture maps (as in, with a purchased figure, I just click the icon and some magic happens wherein it spreads one texture map across several domains and those domains understand how they're supposed to populate). I'm assuming this is some kind of special coding or something, as it's nothing intuitive that I can do in Carrara. Like, if I apply that ARM/HAND/NAILS texture map JPEG to just the hand, it's not going to populate correctly.
- Select the model level of your character
- Go to the texture room
- Under each material zone open up that material and change the Color channel to a Texture Map and load your texture there - for example, for a V4, load your image with the arm/hand/nails to any zone that starts with "3," such as 3_SkinArm, 3_SkinForearm, 3_Fingernail, 3_SkinLeg, 3_SkinFoot, 3_Toenail
- Repeat for all zones - on V4 and Genesis,any material zone that starts with a number uses the same texture map as any other zone with that material (all the 3_whatever zones use the same map, all the 4_zones use the same map, etc.)
For Victoria 4 the basic maps usually used are Face, Torso, Limbs, Mouth, Eyes and Lashes and those maps are applied to the material zones as listed below.
- Face: any zone that starts with "1," such as 1_Eyesocket, 1_SkinFace, 1_Lip, 1_Nostril, 1_Eyebrow
- Torso: any zone that starts with "2," such as 2_SkinHip, 2_SkinTorse, 2_Nipple, 2_SkinHead, 2_SkinNeck
- Limbs: anyzone that starts with "3," such as 3_SkinArm, 3_SkinForearm, 3_Fingernail, 3_SkinLeg, 3_SkinFoot, 3_Toenail
- Mouth: any zone that starts with "4," such as 4_InnerMouth, 4_Gums, 4_Teeth, 4_Tongue
- Eyes and Lacrimal: any zone that starts with "5," such as5_Lacrimal, 5_Cornea, 5_Sclera, 5_Iris, 5_Pupil
- Lashes: 6_Eyelash
Genesis and Gensis 2 use pretty similar setups, although the exact names may vary and Genesis 2 has an additional eye surface material.
Once you have all your maps assigned to the right material zones you can then drag and drop the top-level mutlicolored ball to your browser to save it for use on other characters.
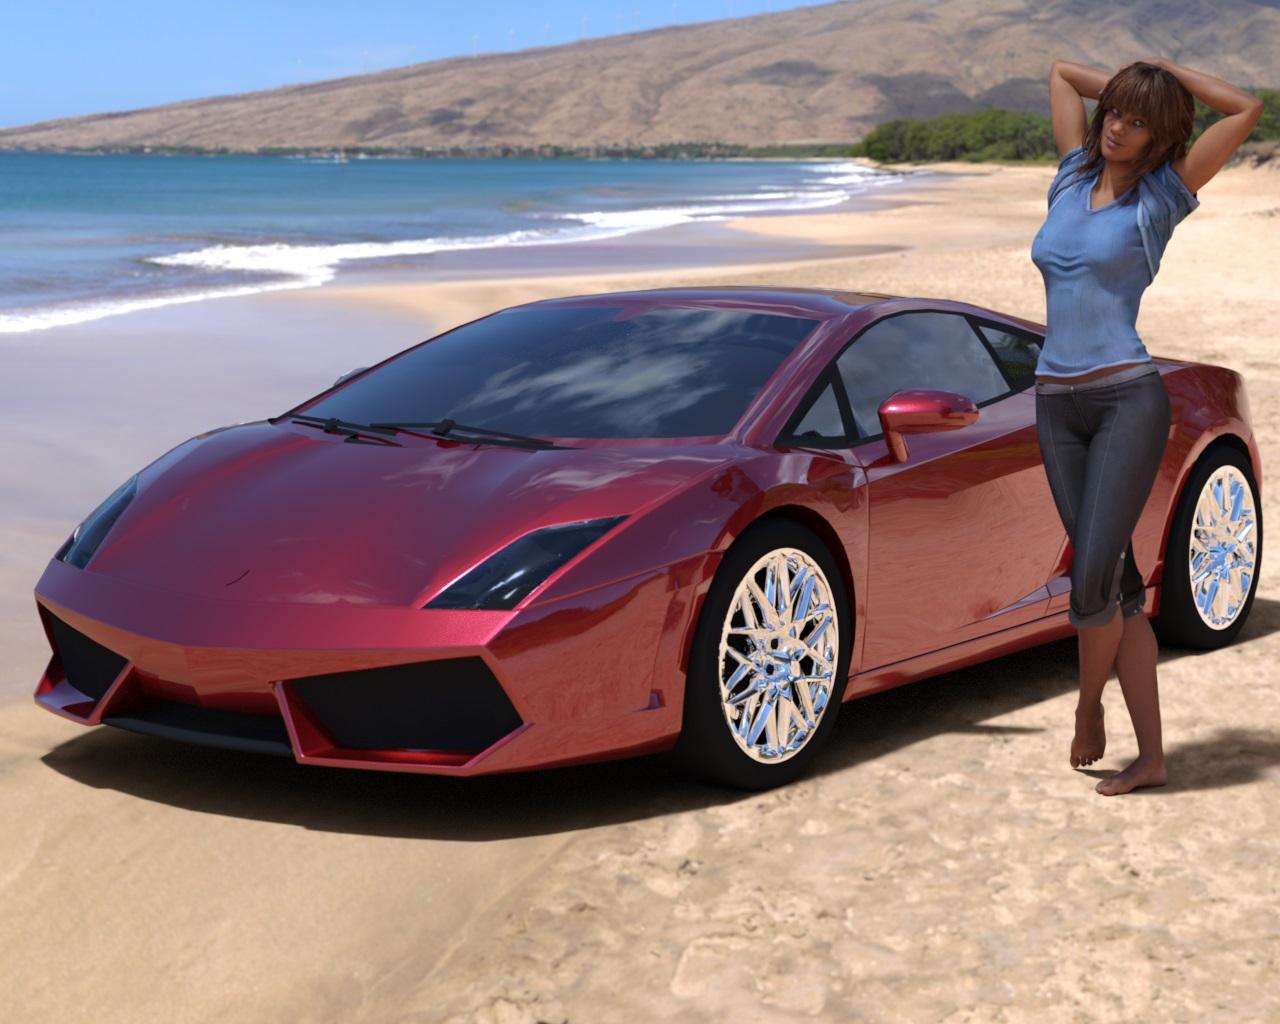
Realistic Renders.... NOT! 14: A new frontier.....Below is DS4.8 iray render of a car model converted from Google Sketchup warehouse together with
http://www.daz3d.com/kelly-for-victoria-7
dressed with http://www.daz3d.com/everyday-for-genesis-3-female-s
Rendering Time: 21 minutes 19 seconds
When I have rendered only the car, it took 2 minutes 25 seconds to complete.
Looks great, one day, hopefully, even my Iray render times will be down to that.
CHEERS!
Realistic Renders.... NOT! 14: A new frontier.....Below is DS4.8 iray render of a car model converted from Google Sketchup warehouse together with
http://www.daz3d.com/kelly-for-victoria-7
dressed with http://www.daz3d.com/everyday-for-genesis-3-female-s
Rendering Time: 21 minutes 19 seconds
When I have rendered only the car, it took 2 minutes 25 seconds to complete.
 Victoria 7 Victoria 4
I'm just curious as to what the difference in texture resolution is for V4 and V7. I have a low end machine, single core..pretty shitty. I realized that I can render V4 and G2F with Raytrace shadows and all the lighting I want, but with V7 I cant use any light OR shadows. I get a memory error (assuming I run out of ram). Not sure what I can do... any suggestions? Aside from upgrading my machine, I don't have $3,000 to invest into a proper machine right now.
Rev up discountI bought two rev-up products yesterday - Suzan Hair and Sasha for Victoria 7 My rev level when down to 3 instead of remaining at 4.
I bought the hair yesterday too and I went down to 30% also, this is supposed to be looking into Mike said its been reported, that was at 8:30 this a.m. still have not heard if its fixed
Thank You PAs For Participating In The SaleHongyu's Bikini 2 for Victoria 7
Kiva Hair For Genesis 3 Female(s), Genesis 2 Female(s) and Victoria 4
and is the last one the pose? Delight Poses for Genesis 3 Female
Two out of three... The pose comes from the same kit the backdrop and lighting does, Photo Shoot Iray.
Rev up discountI bought two rev-up products yesterday - Suzan Hair and Sasha for Victoria 7 My rev level when down to 3 instead of remaining at 4.
Skin Shader - How to setup a Sub Surf Scat Layer for Blood Vessels?Thanks for your reply mjc,
"you can use all three at once"
I wasnt aware of that. So you need to take care of all bump. displacement, normal maps and settings to work together to get the best out of it?
Does this make sense in every combination? I mean bump and displacement are the most common used shader maps I think and for this new normal maps system I have thougt of would replace the displacement system because of its advantages with the color rages in it that represents the surface deformations much better.
Most Daz characters we get only have a bump and a specular map. And I think this is because the bumpmap "surface deforming system" is the most resource efficient (but face looking at the geometry edges!) shader map system at render time.
Now I want displacement maps for my character - and generating these map out of the bump map I got was my first attempt to do this quick and dirty. Also if I look at the Daz character textures in my library I think the bump and the specular maps are somehow done with tweaking the diffuse map with an image editor. Does anyone know of a tutorial for photoshop for doing that diffuse map to bump / specular conversion?
For the subject of generating maps with Awesomebump / crazybump ect. its totaly clear what "baked from hi-res meshes" means in quality compared to the generated maps. Damn I need a single UV-map layout for genesis 2 so I can paint / sculpt all the fine details with ZBrush on all face, body and limbs 'surfaces' at once. Or is it possible to do something similar in Blender (from wich I know supports diffrent UV-Maps on the surfaces) - I mean sculpting on a high-res mesh and export displacement maybe also normal maps?
As discussed here in section "Did I missed out something? OK yes finaly to your first question":
http://www.daz3d.com/forums/discussion/59212/g3f-textures-in-zbrush#latest
I would love to have something like this:
http://www.sharecg.com/v/70652/browse/21/DAZ-Studio/Genesis-1-Single-UV-Maps-and-Utility-Paint-Morph
...for genesis 2 M/F base map UV or Genesis 2 compatible UV-map - Does anyone know of such a "single UV-surface" map or know how can generate it?
"Aj-bloodvessels"
So this is the problem with AmazingSkins shader I should have known this as I didnt find a SSS-Map slot in it.
So you advice me to use "UberSurface or AoA" Uber-Surface / Environment I thought of is an advanced lightning system and AoA "age of armour" I thought of is just a shader system - but now its getting clear to me that every lightning system uses its own surface / skin shaders - sorry im completly new to rendering in DazStudio.
So you also used AJ-Blood-Vessel Textures as SSS color, nice to hear that. Which UV-Layout did you use? Or I should better ask since the set consists mostly of JPGs with white backround is this the neutral color for SSS-maps?
Because until now I didnt know how to setup the SSS-colormap - I allready used it to tweak my flat colored looking diffusemap with it.
For doing that I first had to "Map-Transfer" my texture to the Victoria 4 UV-Layout within daz studios map transfer tool. Once you have understand how to set up templates that can also be saved as presets it very easy to work with. I always set the quality slider to highest 10 and save out PNG and hope that my texture dont loose detail with that method.
With the additional script http://www.daz3d.com/forums/discussion/33957/uv-setter-for-genesis-2-revised-and-updated
you can easily change your genesis 2 figures UV-Layout with that and do a texture conversion to any other UV-Layout you own.
With my diffusemap converted to the Victoria 4 UV-Layout I was able to use the transparent PSD-file layers that comes with the blood vessels set and used the seperated red and blue vessels as overlay layers for my diffusemap im photoshop by setting the layer oppacity to 17%. Then I noticed that the vessels map stucture is simply mirrored in the middle and too pronounced in some areas - so I have added a masking layer on top and slightly faded out these spots I dont like to see also on the outside of the limbs and the forehead. Then I used the clone-stamp tool to break symetry at the center line.
Overall it comes out very well. If I zoom out and compare the original diffusemap with flat coloring with the one I have added the bloodvessels to I can see sligtly more colorvariations from the red and blue tint - that reminds me of a ZBrush tutorial called something like "paint your human like skin" and they say the first painted lowermost layer should be colored in purple thats a 50-50 mix of red and blue isnt it. With this bloodvessels PSD file you can even generate diffrent mixtures of red and blue colored vessels to represent diffrent situations the charater is in - like if its cold the most outer skin is less supplied with blood and pale with more blue - or the other way around with red on a seperated layer.
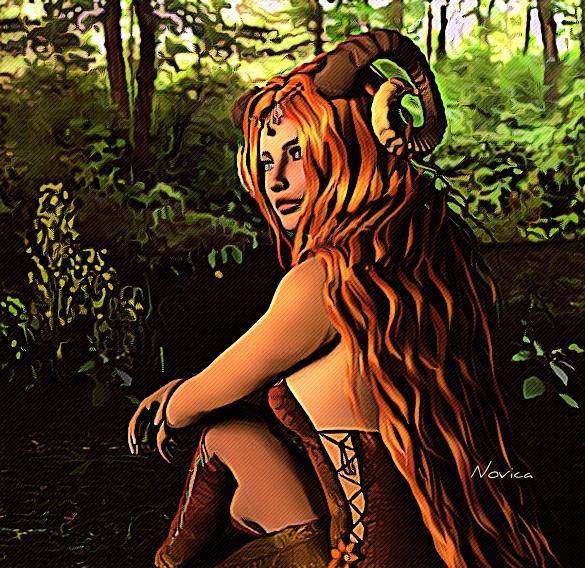
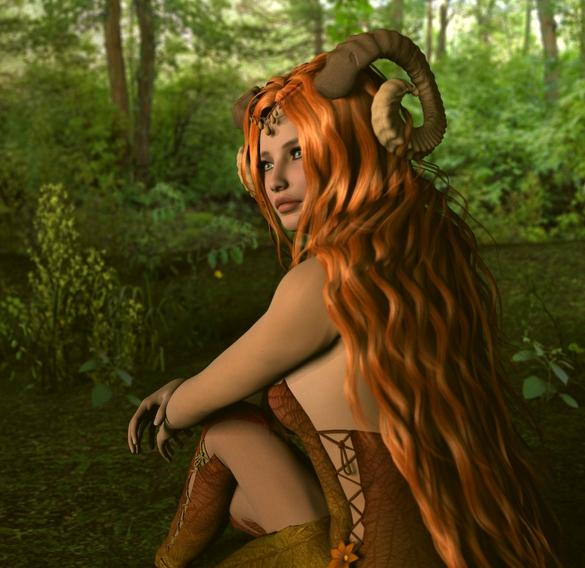
NEW! Novica & Invited Guest Contributors Tips & Product Reviews Pt 6Wanted to show you what I'm testing out for my book with the Photoshop plugins. I'm combining different ones (doing a PS action, then saving, then doing another action, etc. Customizing to get a unique look.) Anyway, also a reminder to you folks doing 3DL and not Iray, SereneNight and I discussed a couple threads back about the wonderful lights with Tomb of Helena. It works really well and also does nicely with Photoshop effects. Get it for $1.99 as PC+ member/ PC.
From what I labeled the original photo, apparently this was Mara for V4 and Genesis (LOVE the thicker eyebrows!) , in Florabelle for V4 and Genesis, with Midsummer's Night Dream Hair for Genesis (can hide the horns BTW. Nice hair!)
BTW, in case some of you are not familiar with Photoshop's options, with the Creative Cloud, you do not actually purchase the program anymore, you rent it. While getting all the creative tools can cost $50 a month, if you only want Photoshop, it's $20 a month. If you're doing a book, or want to have a blast playing, it's worth it. The effects are only $2- $8 on average over on Envato (Graphic River section.) Blame Serene Night for getting me hooked. I bought a lot of effects yesterday because I have to nail down my characters and style for the book.
With ebooks, I want it to be bold, easily seen, and I like this style, so it's the frontrunner at the moment. If you look at the thumbnail below, you'll see why I like it. Even on small, tiny devices, it will look really good IMO. I'll attach the original so you can see the Tomb Of Helena lighting in a regular render. That image is buried somewhere in the past threads, but it's been awhile.
I put a pattern overlay on top of the image, not sure if I'll keep it but I rather like the texture, sorta like older books.
 Thank You PAs For Participating In The Sale
Hongyu's Bikini 2 for Victoria 7
Kiva Hair For Genesis 3 Female(s), Genesis 2 Female(s) and Victoria 4
and is the last one the pose? Delight Poses for Genesis 3 Female
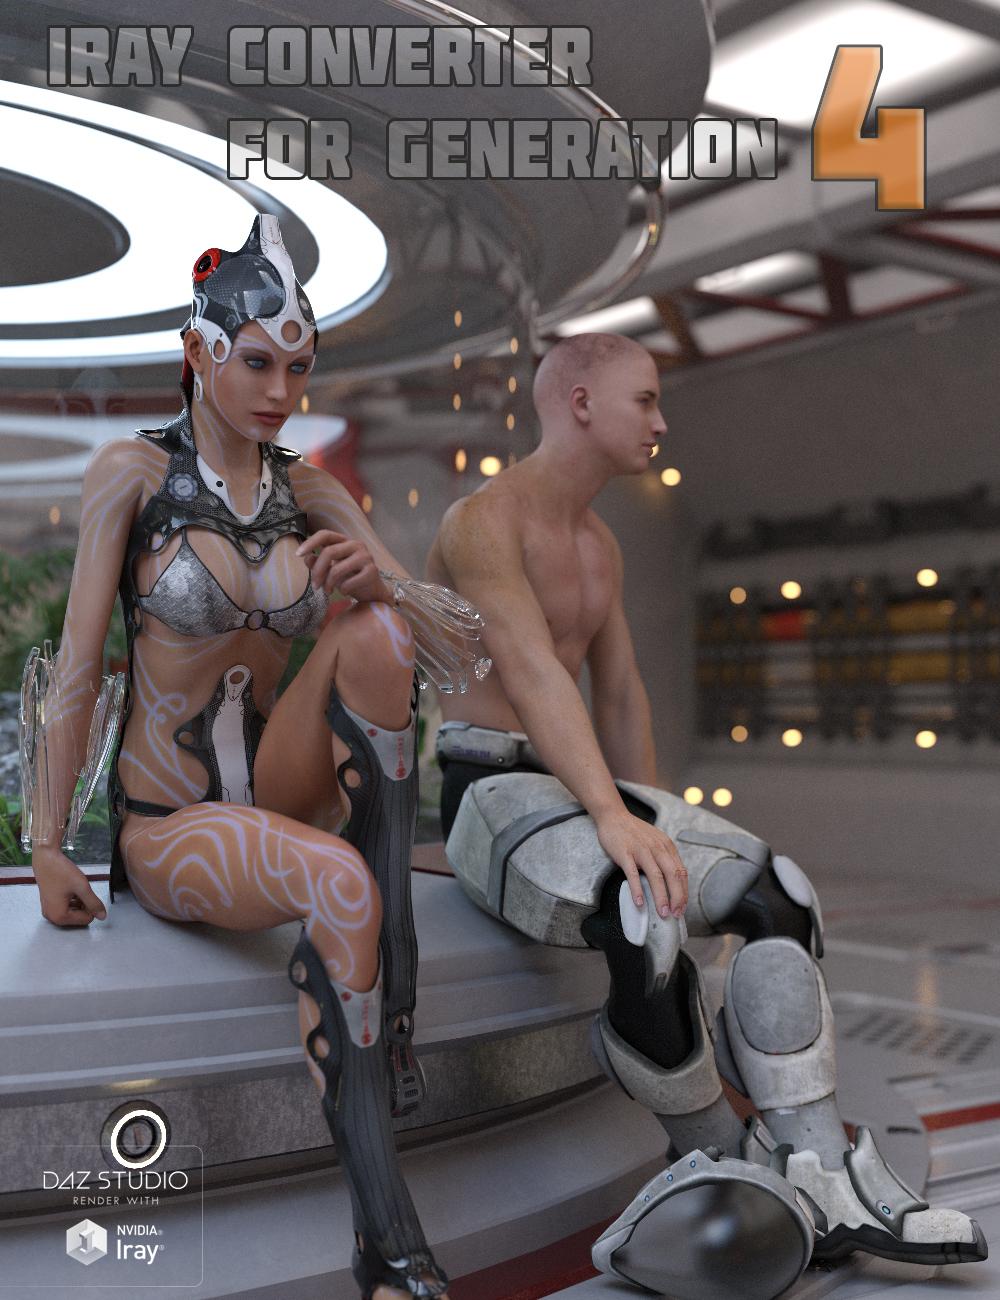
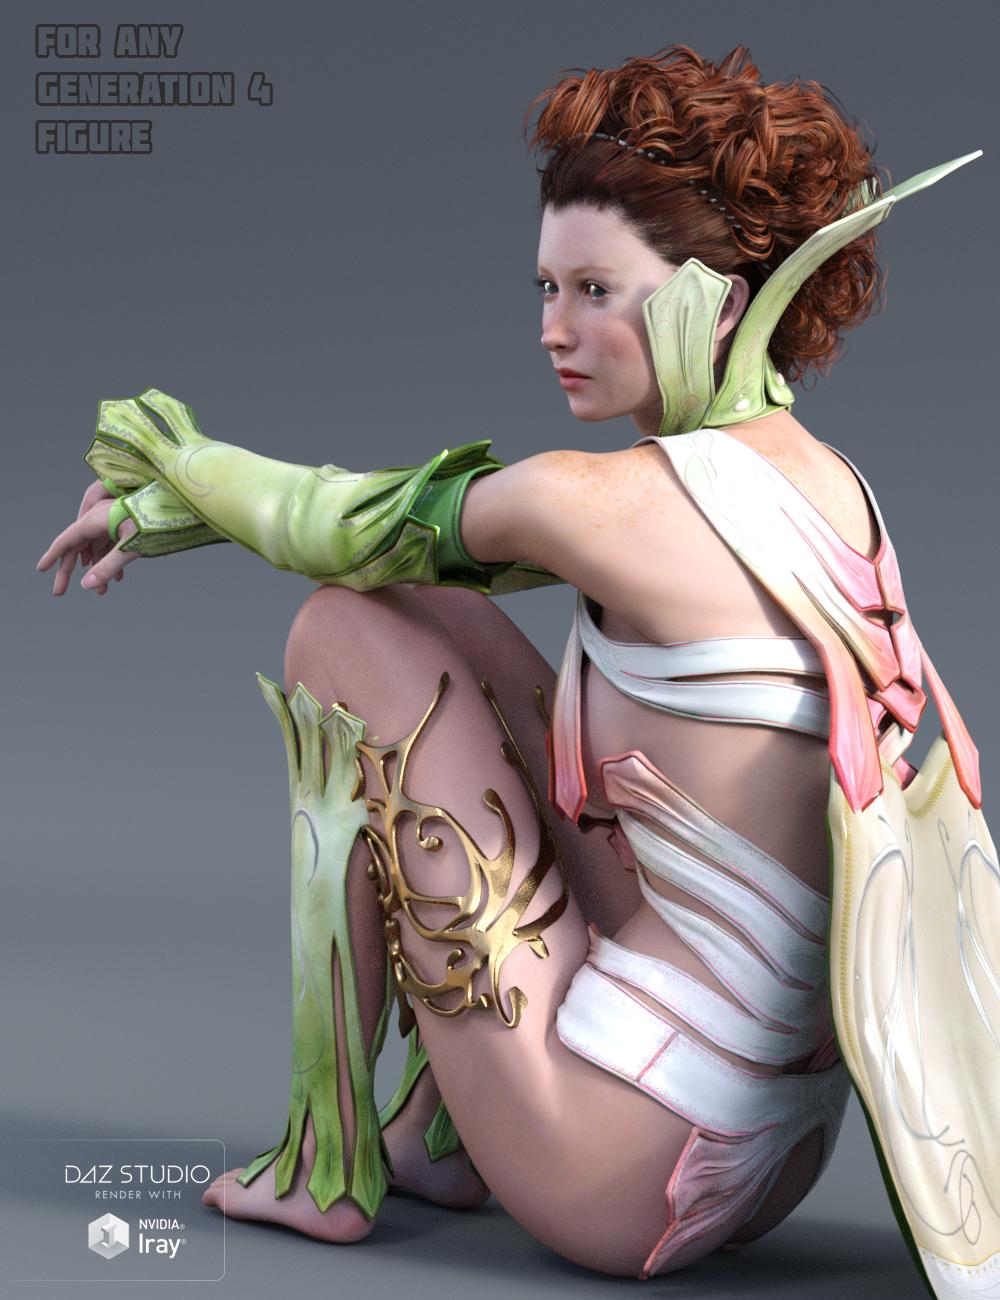
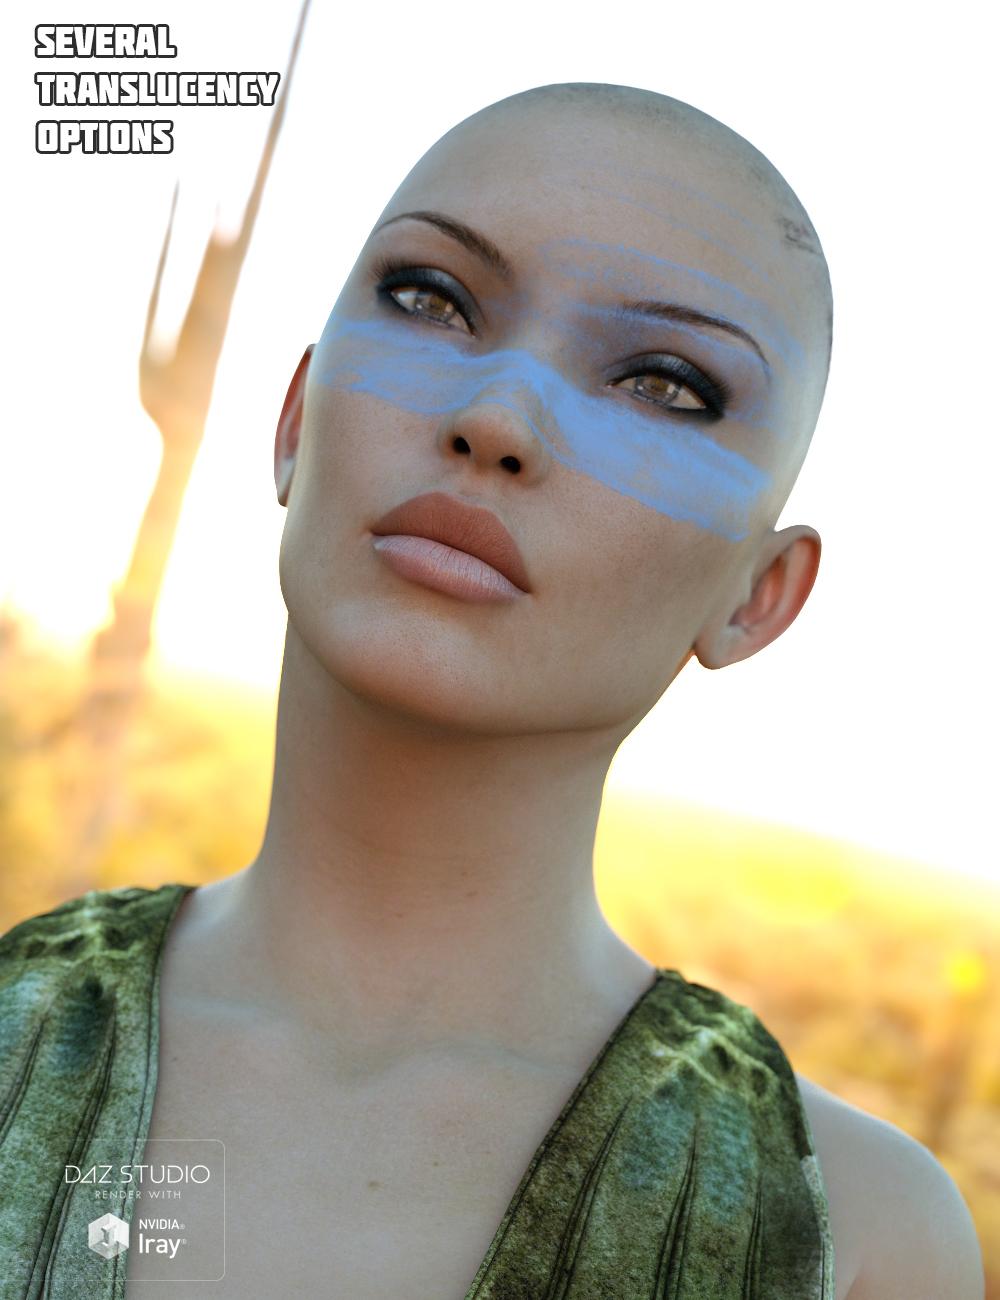
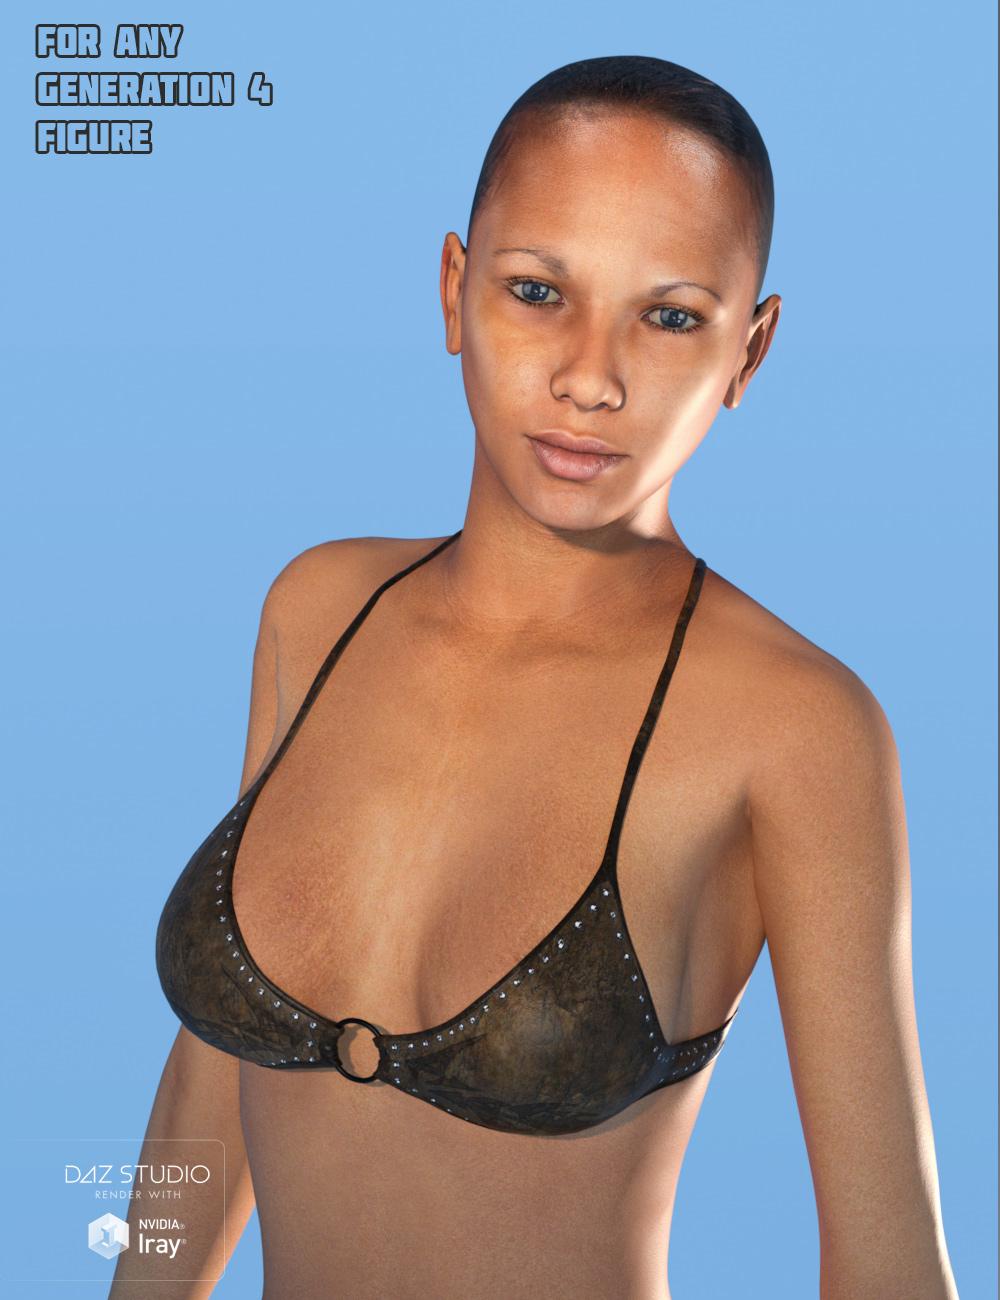
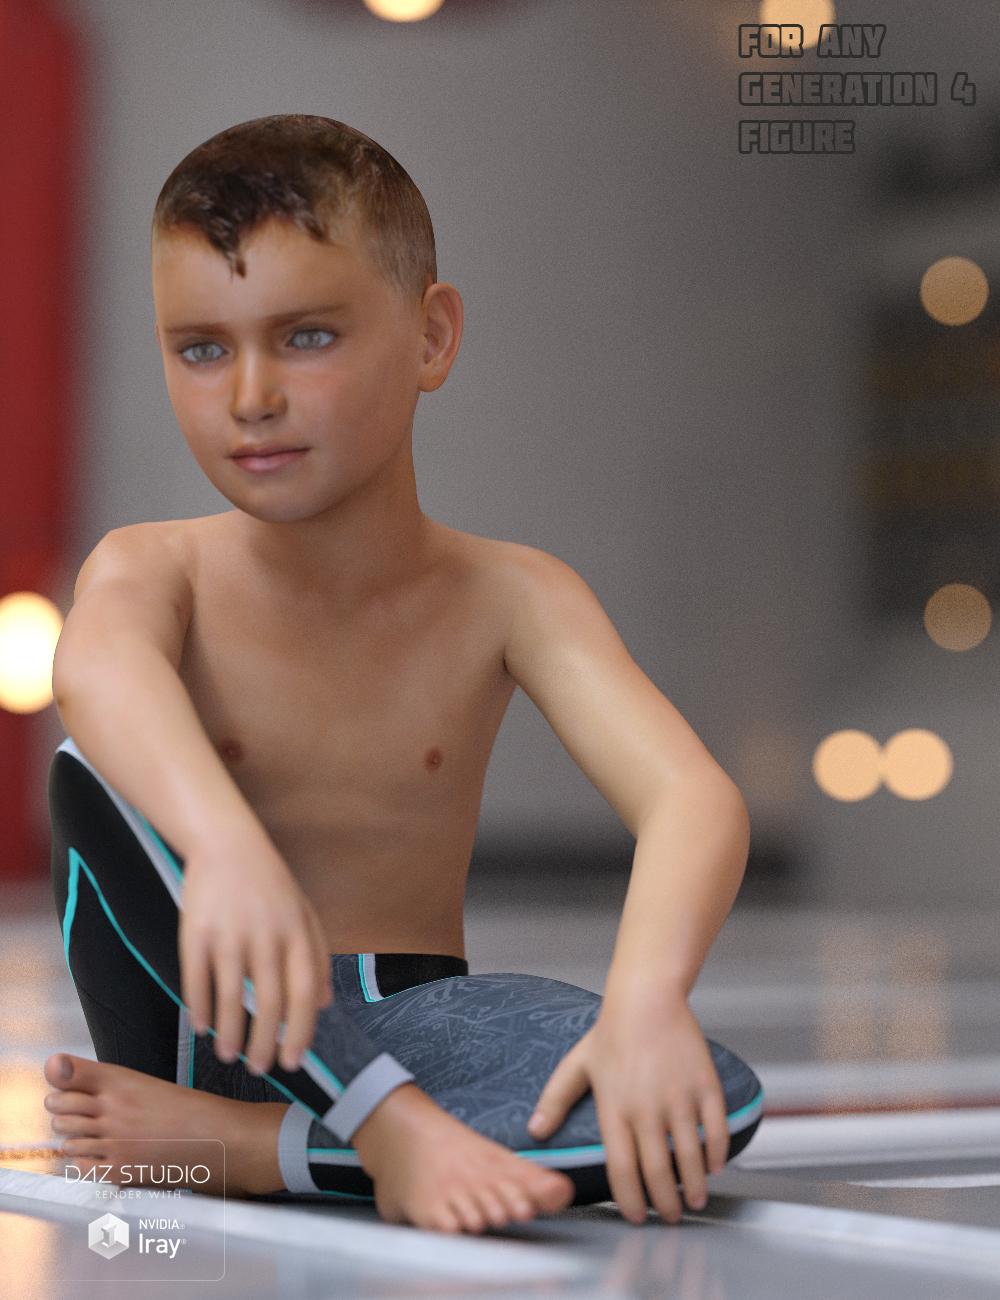
Iray Converter For Generation 4 (M4, V4, etc, etc) (Commercial)Iray converter For Generation 4 is a script applying to any Generation 4 figure an optimised Iray material preset, respecting the original figure you work with texture maps.
The Generation 4 figures are all the figures based upon Michael 4, Victoria 4, Aiko 4, Freak 4, Kids 4.. Well everywhere you have a 4.
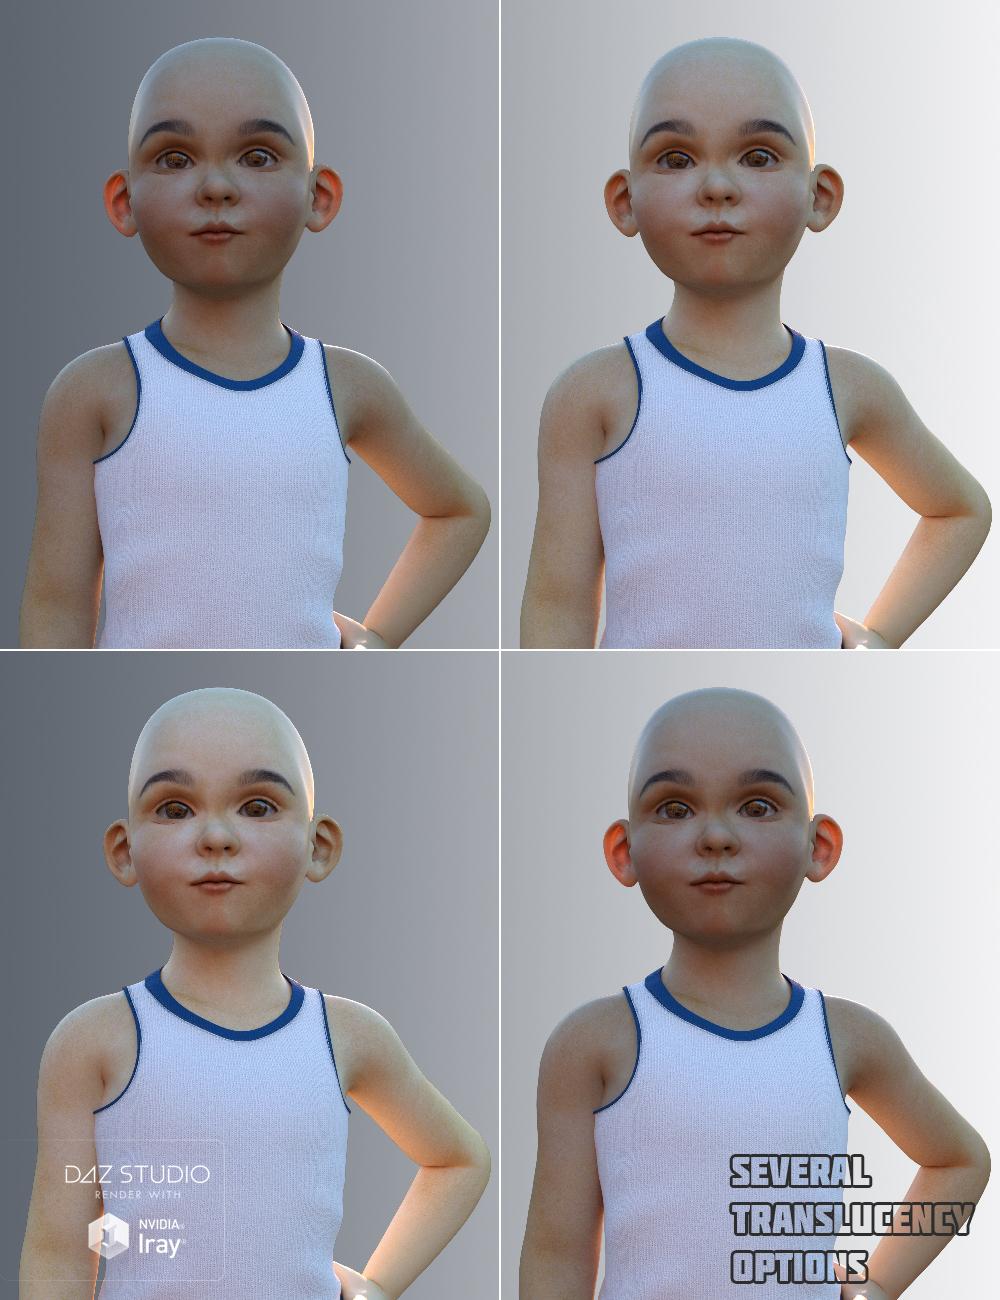
For more fun and customisation, this converter is coming with additional scripts : various base colors and scatter (including translucency) settings, nails and lips gloss and color management, as well as full skin gloss management using smart scripts, allowing you to increase or decrease progressively (step by step) either the global gloss of the skin (easier for beginners), or only some key parameters of it (better for intermediate users).
It would be a pitty to left all your generation 4 figure aside. They also deserve their Iray renders! A few images here.
IMPORTANT INFORMATION :
IN ORDER TO WORK, THIS PRODUCT REQUIRES DAZ STUDIO VERSION TO BE 4.8.0.59 AND ANY VERSION ABOVE.
OTHERWISE YOU WILL GET AN ERROR MESSAGE INSTEAD OF A NICE SKIN...
It would be a pitty!
 Carrara Challenge 19: Above and Beyond - Winners Announced
Entry # 13:
Title: Up! Up! And Away!
Artist: evilproducer
Links to WIPs:
http://www.daz3d.com/forums/discussion/comment/893338/#Comment_893338
http://www.daz3d.com/forums/discussion/comment/894065/#Comment_894065
http://www.daz3d.com/forums/discussion/comment/894071/#Comment_894071
http://www.daz3d.com/forums/discussion/comment/896185/#Comment_896185
http://www.daz3d.com/forums/discussion/comment/897059/#Comment_897059
Credits:
The figure is V4 from DAZ 3D.
I also used the V4 Bodysuit and Bodysuit Expansion Pack: http://www.daz3d.com/victoria-4-2-bodysuit and http://www.daz3d.com/victoria-4-2-bodysuit-expansion-pack
For the skirt I used the skirt from Breeze Musume: http://www.daz3d.com/breeze-musume-v4
For the cape I used the V4 Hooded Cloak: http://www.daz3d.com/v4-hooded-cloak
The boots were the TreadZ boots if I recall correctly: http://www.daz3d.com/treadz-for-v4
I used Long Locks for the hair: http://www.daz3d.com/long-locks
The skin shaders were the the Carrara optimized Reby Sky Elite textures:http://www.daz3d.com/v4-elite-reby-sky
The aircraft was a Carrara freebie by ntsly (thanks!), available at ShareCG: http://www.sharecg.com/v/28151/gallery/5/3D-Model/Fairchild-C-123-Carrara-6
I used elements from AoA's free Carrara ringmail shaders: http://www.ageofarmour.com/3d/free/carrara-chainmail-shaders.html
Notes: Most all of the linked clothing was modified as described in some of the WIPs to get the look I wanted for the costume. The textures were all replaced by my own textures using elements from AoA's ringmail shaders. The Reby Sky textures were also heavily modified by me to fake SSS. To speed render times, I also had to re-work elements of the aircraft shaders. Mostly to get rid of the reflections and retain an metallic look.
I wanted an iconic superhero scene, but I didn't want to do the usual heroes, so I thought about the Man of Steel's cousin (or niece?). I wanted an action oriented scene where she was the focus, yet I needed enough of what was going on so that the viewer could follow the action. I also wanted to avoid showing the insignia on the costume and cape, so I tried to pose the figure and cape in such a way as to hide those elements and yet have a sense of weight and action.
To see the full sized image, click the thumbnail!Does G2F have Some Genesis in her?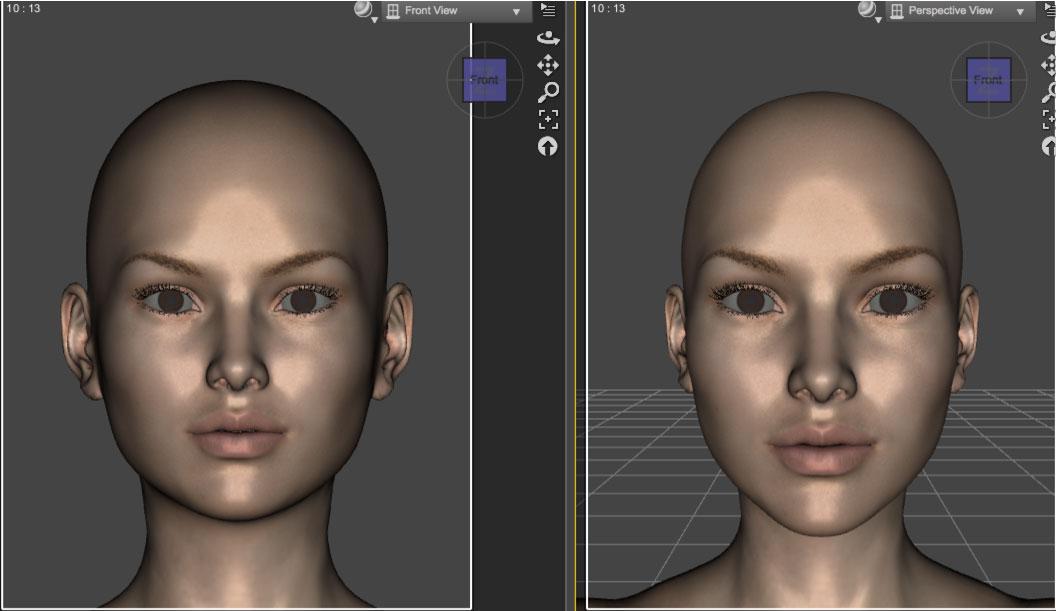
Front, sides, back, top, bottom are orthographic and that is what you have in the image where you're using front view. This image shows side by side, front view on the left, perspective on the right, of Victoria 7.
wondersheetz make me wonder, please helpThere are 15 sheet props and 15 poses each for Victoria 6, Aiko 6, Lilth 6 and Olympia 6
The props and poses are numbered 1 to 15 and are designed to be used as a set. Sheet 1 wtih pose 1, sheet 12 with pose 12, etc..
Usage example with Victoria 6:
1. Load Victoria 6
2. Apply a Victoria pose 1 thru 15
3. Load the matching sheet 1 thru 15
4. With the sheet selected, go to Parameters tab where you'll find 5 sheet morph variations to drape the sheet with that particular pose. The sheet draping morphs are designed to be dialed in one at a time AND on the unmorphed Victoria 6 shape for best results.Using the sheets on a morphed base character all depends on how the sheet drapes around the figure. If you get a bit of poke through, you can try applying the smoothing modifier to the sheet and adjust the collision and smoothing parameters.
edit: Here's a link to the product documentation: http://docs.daz3d.com/doku.php/public/read_me/index/22137/start
criticism on pose setsthink a few of mine sometimes have had matching expressions to some poses not sure wich though as when I select poses I look in the all files options but usually when they are they fit with the pose. ironman13 though she does a lot of great poses and a lot of her stuff not only do you have a full pose option you also have mix match options with seperate poses for upper lower parts of the body, seperate arm poses left and right same with the legs, even has a lot of mix match expression poses where you can select diferent eye, mouth and other facial expression combos like tongue don't think she's done a nose one yet yet anyway but she may
she's released a new v7 expression set today too i13 100 Essential Expressions for Victoria 7
wonder if she sits in front of the mirror to get these ideas she comes up with a lot of interesting ones
I like the pose sets of I13 and have tons of I13 poses for V4 :) most of them bought at renderosity
Annoying pokethrough problem..Patrick, your settings, and the fact that you have Interactive Update off, strongly suggest it's not a smoothing delay issue. Still, the smoothing update is something to be watchful for. It's a real bummer to start a render, only to come back half an hour later to see that Victoria is showing more private bits than you had anticipated.
If you have something like Fit Control, and this is Genesis 1 or 2, you can try a slight expansion to pull the clothing geometry slightly away from the main figure. On your example, there appears to be some kind of displacement stuff going on, which could influence the render. Your plain mesh doesn't show the texture in preview mode that you get when rendered, and if you have a strong displacement map in that part of the garment -- which looks likely in your case -- it might deform the geometry enough for a poke-thru. You will only see this in the render.
Iconic Character TrianglesI believe the original Stephanie was not a variation on Victoria 2 but actually Michael 2, though I could be mistaken.That's correct.
Daz 3D is part of

Connect
DAZ Productions, Inc.
7533 S Center View Ct #4664
West Jordan, UT 84084Licensing Agreement | Terms of Service | Privacy Policy | EULA
© 2026 Daz Productions Inc. All Rights Reserved.