-
-
-
-
$35.95
Artist:Compatible Figures:N/ASKU:86630Optional License Add-Ons:
$1.99*Unless otherwise specified, no discounts or offers will apply to License Add‑Ons.
Optional License Add-Ons:
$1.99*Unless otherwise specified, no discounts or offers will apply to License Add‑Ons.
-
Details
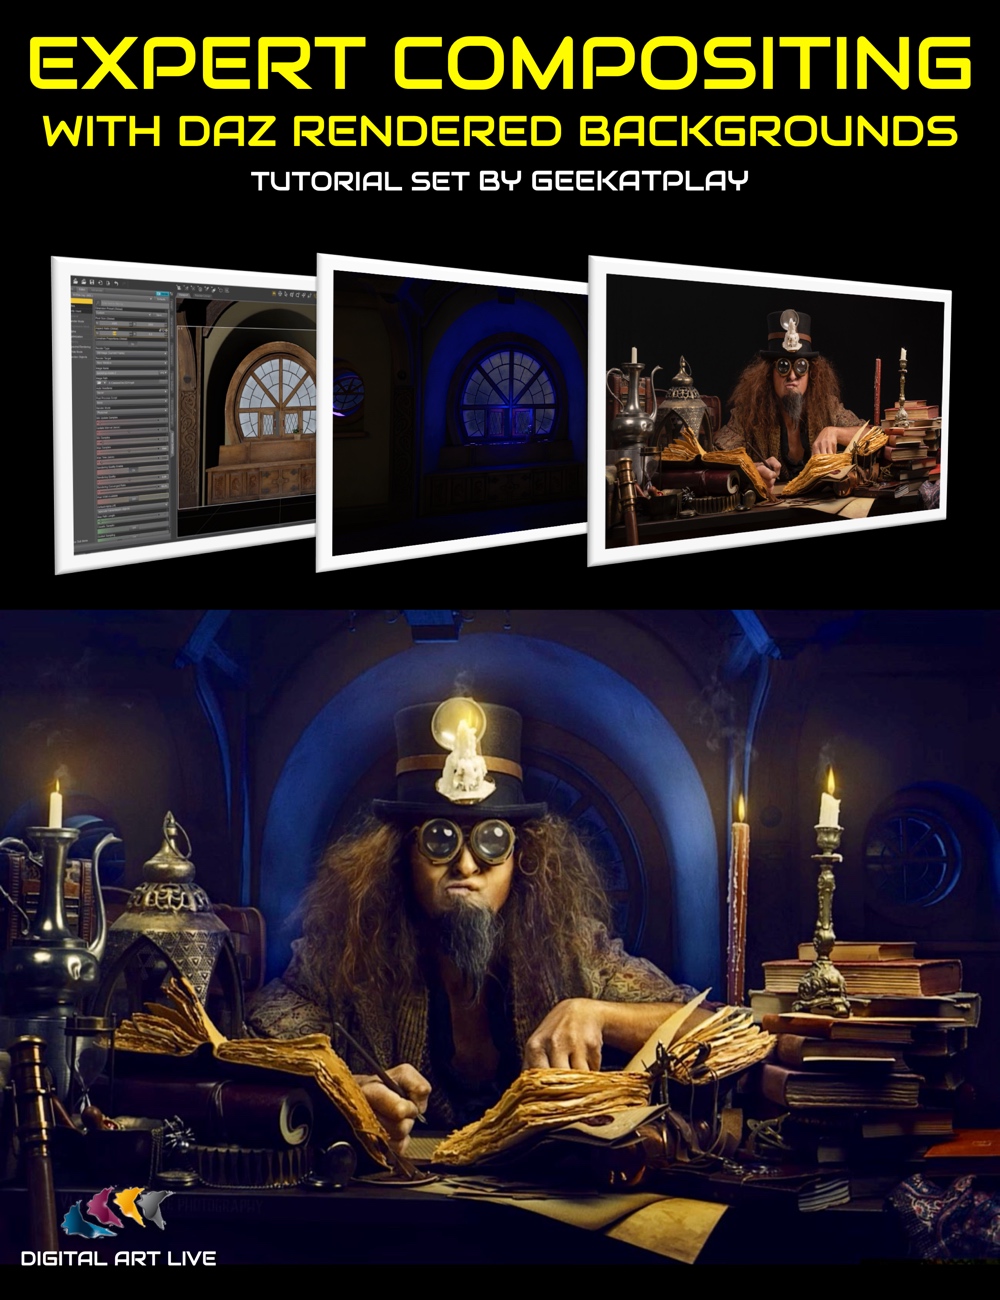
Combining the use of Daz Studio and Photoshop for compositing provides wider options for your art, faster composition of elements, and a more polished look for your completed artwork.
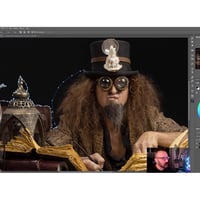
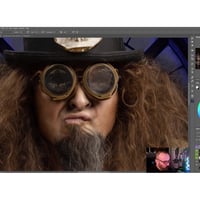
In this tutorial set, GeekAtPlay (Vladimir Chopine) shows you how to prepare, light, and render a Daz Studio background ready to composite with a photographed or stock asset. He then goes on to show how to composite the items together using Photoshop, multiplying the value of the artwork by fixing artifacts, isolating and adding new elements, adding shadows, increasing depth, enhancing the colors, postworking lighting, and improving the skin and hair of a photographed model.
Tutorial running time: 120 minutes across seven videos in MP4 format at 1920 x 1080 HD.
This tutorial product includes a searchable version of the videos with optional captions, where any word or phrase spoken can be searched for across the whole set of tutorials.
Resources include the rendered Daz backdrop asset, candle flame, and high-resolution images of the photo asset.
Video 1: Why composite? GeekAtPlay's portfolio selection of composite artworks showing the potential of compositing.
Video 2: GeekAtPlay's tips on acquiring assets for Daz Studio.
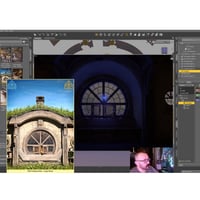
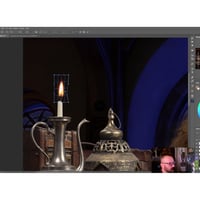
Video 3: Using the "ROG Fantasy Home", lessons on adding lighting to the set for compositing, considering camera and render settings, and selecting a suitable point of view to render for the background.
Video 4: Cleaning up and cropping the photograph asset and isolating the foreground with the pen tool. Using the pen tool and top tips for tricky areas such as hair.
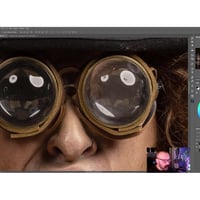
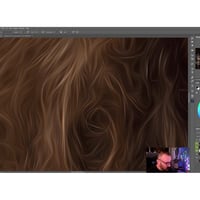
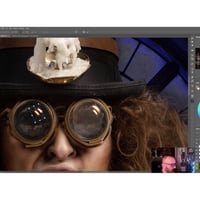
Video 5: Advanced work on the foreground asset; finishing the hair by blending, reflective surfaces, skin and hair enhancements, deepening shadows, and highlighting areas for more interest and depth.
Video 6: Adding candle flames, distorting the flames, considering reflected light of new light sources, light and color casting, glow, adjusting for natural look and coloring
Video 7: Smoke and color overlays. Using brushes. Adding depth with atmospheric effects. Using grain and final touches.
Video Sample
About the Presenter: Vladimir Chopine from GeekAtPlay
The founder of Geekatplay and with a background in film production and computer sciences, 3D graphics, photography, and composites has long provided a set of passionate pursuits for Vladimir. Serving 3D digital artists across the world, he has created over 3000 tutorials on VUE, Daz Studio, Photoshop, Terragen, and many other applications.
Originally from Moscow, he lives with his wife Ami Chopin, who is a professional writer in Salt Lake City, Utah.
What's Included and Features
- Expert Compositing with DAZ Rendered Backgrounds
- Total Running Time: 120 minutes
- Total File size: 2.57 Gb
- Chapter List:
- Video 1 : Digital compositing next step in creating art (7 minutes).MP4
- 00:00 Advantages of compositing - creating a more magnetic story for your art
- 00:02 Compelling composite examples with digitally created backgrounds
- 00:04 Our selected photographed asset and the plans for it
- 00:06 About the contents of the asset pack with this product
- Video 2 : Tips on Acquiring DAZ Assets (7 minutes).MP4
- 00:00 A few pointers on acquiring your DAZ assets from the DAZ3D store
- 00:02 Make a list of required assets and a wishlist
- 00:03 Wishlists and notifications of sales
- 00:05 Balancing your creative time
- Video 3 : Setup lighting and render background in Daz Studio (30 minutes).MP4
- 00:00 Creating different moods by considering different backgrounds
- 00:01 About the photographed assets
- 00:04 Choosing the ROG Fantasy Home - Large Room - set and using the inside as a backdrop.
- 00:05 Selecting render and camera settings
- 00:07 Gaining the focal length of the photographed asset and matching with virtual camera
- 00:09 Set up lighting. Check existing lighting on the set
- 00:11 Linear point lighting use with candles.
- 00:12 Add a distant light to the set
- 00:14 Alter distant light colour and set the lumen.
- 00:16 Add a linear point light near the bench window
- 00:18 Highlighting the glass with a blue glow
- 00:20 About complimentary colours
- 00:22 Adjusting lumen for the point light
- 00:25 Checking render properties.
- 00:26 Bloom filter
- 00:28 Lighting that came with the set
- Video 4 : Preparing foreground image in Photoshop (18 minutes).MP4
- 00:00 Looking at rendered image and saving.
- 00:01 DAZ preserves transparent areas for the render.
- 00:02 Checking for bright images on the photographed asset
- 00:04 Rule of thirds lines - adjust and crop
- 00:05 Check for render artefacts and fix
- 00:07 Isolate or overlay for preparing photographed asset for compositing?
- 00:09 Using the pen tool for isolating - what do you do with hair?
- 00:11 Pen tool work completed - but needs checking
- 00:13 Isolating mask created
- 00:15 Advantages of the pen tool for creating the mask
- 00:17 Clues for original lighting in reflective surfaces
- 00:18 Next steps for the masked photographed asset
- Video 5 : Blending lighting between components in Photoshop 4 (20 minutes).MP4
- 00:00 Vector and raster masks on one layer
- 00:02 Blending edges of hair with backdrop
- 00:04 Spot healing brush to fix anything (skin blemishes)
- 00:05 Work on the reflections of the goggles
- 00:06 Combine all visible layers for smoothing
- 00:08 Filter,Stylize,Oil painting for hair - better texture for hair
- 00:10 Pick areas of hair to affect
- 00:12 Same work on the beard.
- 00:12 Using dodge and burn for working on the shapes in the image
- 00:14 Settings for dodge and burn
- 00:16 Dodge and burn helps emphasise shadow and highlights
- 00:18 Add shadowing to the hair
- Video 6 : Adding light sources reflections blending colours (21 minutes).MP4
- 00:00 Adding candle flames to the image
- 00:02 Distort the flames
- 00:04 Reflections of the candles on relevant surfaces
- 00:06 Work on reflections in the goggles
- 00:08 Distorting flames in the goggles
- 00:10 Add shadows and highlights according to the cast light
- 00:12 Casting colors due to the lighting
- 00:14 How to create glow for candlelight
- 00:16 Shadow adjustments
- 00:18 Increase color glow on candles
- 00:18 Noise clean up
- 00:20 Natural look and colouring applied
- Video 7 : 07 Adding smoke and color overlay (16 minutes).MP4
- 00:00 How to add greater depth to a composited scene.
- 00:02 Blending to fix flame artefacts
- 00:04 Using Ron Deviney's brushes
- 00:06 Adding smoke to candles
- 00:08 Add atmospheric layer but control with opacity
- 00:08 Add grain
- 00:10 Coloring effects on the rendered DAZ background.
- 00:12 Color overlay and final dodge and burn
- 00:14 Difference between how the photographed asset started and the final composite
- Resources : Studio Photography by Vladimir Chopine
- backdrop-daz-class.psb (rendered DAZ background as Photoshop file)
- candle.png
- model.jpg
- model.tiff
- PDF Document providing searchable version of this tutorial set
- ExpertCompositingWithDAZBackgrounds.PDF
- Software Used: Photoshop
- File Types: .Mp4
Notes
- This product includes:
- 03 General Installers
