Daz 3D is part of 
Connect
DAZ Productions, Inc.
224 S 200 W, Suite #250
Salt Lake City, UT 84101
Licensing Agreement | Terms of Service | Privacy Policy | EULA
© 2024 Daz Productions Inc. All Rights Reserved.Daz 3D is part of
Connect
DAZ Productions, Inc.
224 S 200 W, Suite #250
Salt Lake City, UT 84101
Licensing Agreement | Terms of Service | Privacy Policy | EULA
© 2024 Daz Productions Inc. All Rights Reserved.
Comments
You are a clever lazy devil. :)
If you look around the Daz stte and store, you'll see the font crop up in different weights all over the place. I suspect they either designed or had it commissioned as a complete font family. I've certainly never found it on any of the font sites (and not for want of looking)
@ wgdjohn ha ha, well I have done it before :) and not very well, I think glare looks better than aura
this is an texture I lfted of a photo by Thomas Bresson on Wiki from https://commons.wikimedia.org/wiki/File:2013-08-07_04-23-26-foudre-belfort.jpg
you could use it in the glow channel of a plane's texture
lots of glow and errects on the light bulbs i n this one - and also used caustics to reflect light from the ground.
the freak has a Carrara 9 transmap mapped to him. The ground is an infinte plane. I shouldnt have ticked 'make seamless' on the texture?
lots of glow and errects on the light bulbs i n this one - and also used caustics to reflect light from the ground.
the freak has a Carrara 9 transmap mapped to him. The ground is an infinte plane. I shouldnt have ticked 'make seamless' on the texture, that way all the Carrara's would have been the right way???
After Dart's enthusiasm fo Fog I dropped some in ;) made a bit of background haze
Not sure what happened really
Ha! Love the people silhouettes in the crosswalk!
Somebody went time-traveling carelessly.
I sense a new movie coming - "Planet of the Zebras"!
Wow, amazing stuff, Headwax and Gibson.johnny3.
I am frustrated. I modeled a baseball uniform in the vertex modeler. I have been trying to uvmap it using the seam/pin method. Unfortunately, the modeler keeps forgetting some of the seam lines. The dropped seams appear to happen randomly. For example, I have seams separating the shirt from the pants, and separating the front and the back (and also separating the belt and loops and the sleeves). So, I will use unfold one time and have the front and back of the shirt separate appropriately, but the pants will have a connection. So, I go back and re-seam the pants, but when I unfold the second time,one of the sections of the shirt's seams is dropped, and so the shirt's front and back panels do not separate. So, I have to do the shirt over again, but then in the third unfold, the shirt separates but then he pants don't because a seam section gets dropped. Aaargh.
This uvmap is a mess because the seams don't completely separate the various panels, but I promise that I have checked and tripled checked the seams and repeated the unfold.
Argh.
.
Could you separate it out into multiple meshes, and unwrap them one at a time?
Zebra crossing
Trying to keep it one mesh so it will be easier to use the VWD dynamic cloth program with Philemo's plugin. You are right, I may have to have the pants and shirt as distinct models. I got a little closer. I find that I get one shot at using unfold each time that I reload the model. This is my best attempt so far. The belt loops are screwed up but the pants and the shirt are much closer to what I want. I have attached a render with a simple procedural wires shader applied to mimic pinstripes. There are also red borders for for the collar and sleeves just to show that those could be used as well.
The "plan" is to use the nail function to fix the belt and the knees-bottoms, and then use VWD to drape the uniform as if a loose shirt were tucked in, and as if the pants were tucked in those stretch baseball socks. I also intend to use the Baker plugin to export the procedural pinstripes (if I get the pants sorted out) and then write Carrara and 9 on the back of the uniform.
was feeling inspired by the Melbourne storm
http://www.daz3d.com/forums/discussion/comment/1469211/#Comment_1469211
hmmm mybe something via the tree editor branches with glow ... skinny branches ... so far, not lightning looking. doh, more sub branches, branchlings ...
Misty, you may already be familiar, but just to be sure, don't forget that there is an Expert tab in the tree modeler. If you look under the picture, there are additional tabs for "Generation Count" and "Randomness" which can be shuffled. Other tools worth exploring as well.
I did a test drape of the baseball uniform just to make sure I wasn't wasting my time fighting the uvmap monster. This was only draped to the T-pose as a test to make sure that VWD could handle the mesh. I think it draped reasonably well on the arms and legs. Makes me believe that it is worth continuing to try to get the uvmap and shaders sorted out.
That's looking good Diomede! UV mapping can be a real pain. One of the reasons I like doing clothes in Marvelous Designer is that the UVs are automatically correct, as it makes the clothes from flat pieces of "cloth", just as you would in the real world. Not that it helps you in this case...
That's why I suggested IvyGen in the other thread. With no leaves, you can get some very lightning-like branch structures - simply a matter of tweaking the parameters until you grow something you like.
* Growing a vine or spline?
There's another way that I've found: Use the Realistic Sky, even if you're not going to see the sky, and use the fog! I start with an altitude of around 12 with an intensity of around 12, and adjust to my liking ;)
Absolutely Awesome! Love the embossed Carrara 9 on the cliff side!!! Love it!!!
Try using a finite plane instead, and then using tiling ;)
Agreed 100% ;)
Sometimes when that happens to me (trouble with unwrap) I'll just use planar mapping front and back separately (in this case, at least) and then pull out the side's edges from the map - start with the furthest edge out, pull, add the next edge to the selection, pul, repeat, repeat. Not the favored method, but I've had excellent results from that procedure ;)
gibson.johnny3 that's a wonderful image congrats. Care to tell us how you got the glow and the atmosphere :) ? All ears!
@diomede that drape looks wonderful, dont you love how vwd also gets rid of poke through. Dart's suggestion sounds good - when in doubt, cheat!
@ dartanbeck thanks - unticking the seamless fixed it
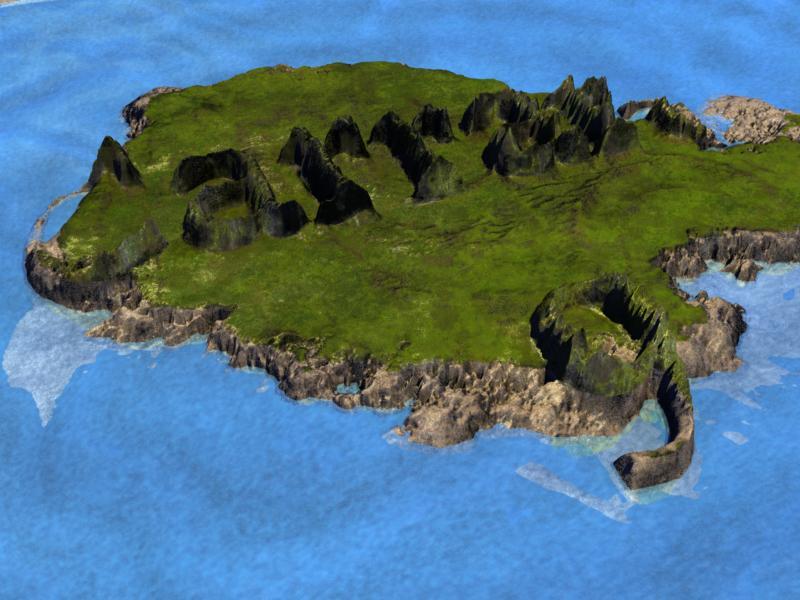
Here is the start of a different take.
.
Thanks all. Great looking work going on here
head wax - Care to tell us how you got the glow and the atmosphere
Simply cheat!!. Of course Carrara 9 would have all these functions and we wouldn't have to, But until such time this becomes available I suggest the Carrara fans Google - Google NIK Collection where they will get access to a great Photoshop plugin that was once quite pricey but now free. You will be amazed how you can tweak an existing Carrara 300 dpi render using this. Don't know why but with Daz, Bryce, Carrara and Poser renders the plug seems almost designed for them. The atmosphere is the default Dartanbeck with the tonal contrast enhanced and it is quite possible a warm LUT over the top. I usually blend the NIK version with the original. As for the street lights I am still working on those because I went outside and noticed a differing glow and my OCD kicked in. PS Lens Flare, even with a 40in screen a thumbnail size box comes up that somebody with 20/20 vision will struggle to see. After 10 goes at lining it up and you seem to get the desired result. I usually set it at 10-12 and use more than one to control the amount of spill.
Now for my WIP here I decided to beat up the lettering a little because the CARRARA was a little too polished sitting next to the 9. I also added Loretta out taking the baby for a stroll.
PS if you can get the plug after the comp has run so I at least have a sporting chance it would be much appreciated ;-)
@gibson.johnny3 thanks for the detailed explanation! appreciated . nice move with the patinated Carrara
thanks for that too :0 all this stuff I'm learning!
nice work Diomede, reminds me of a show I saw recently on the Galapagis islands, attenborough went through the island's geological life cycles - a good watch ;
I can't keep up.... olympic proportions here -- awesome stuff