Edge/Point welding advice
 Saiyaness
Posts: 715
Saiyaness
Posts: 715
Hello all! Here to annoy again...
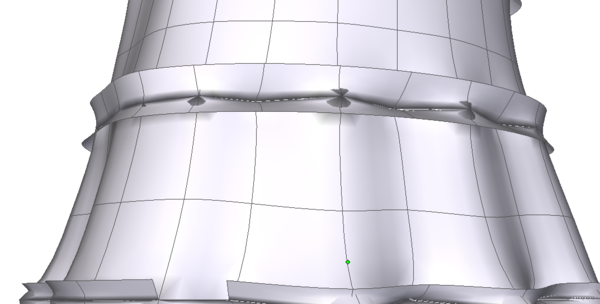
I'm making a dress with sections of lace that run down the length of the dress like pictured. Texturing and trans-mapping them won't be a problem but how do I weld them to the dress so they're actually part of the dress...without getting those horrible black marks...I've tried smoothing them out but no go...
I copy and pasted a line from the dress, thickened it, cut away faces to make the V shape and it is a separate object, obviously shown selected with the dress atm.
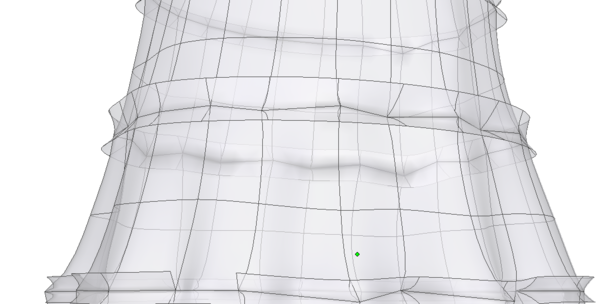
I have a (before-the-geometry-nightmare) save and a separate save to show you the horror...
I've tried welding points (which causes the above mess) Average welding, target welding, snap/aligning so I can keep them as separate objects but...yeah. Any advice would be helpful. Thankyou!!
Daz 3D is part of 
Connect
DAZ Productions, Inc.
224 S 200 W, Suite #250
Salt Lake City, UT 84101
Licensing Agreement | Terms of Service | Privacy Policy | EULA
© 2024 Daz Productions Inc. All Rights Reserved.
Comments
The answer is simple. don't weld them at all. keep them as separate meshes but touching the main dress mesh at the crease of the "V". When you save the object file and import it into DAZ, they'll still end up part of the piece as a whole. I learned that the hard way working on my first piece of clothing. Things like piping and trim need to be kept separate because otherwise they create non-manifold edges, which DAZ doesn't like. This will also make UV mapping easier because they'll already be separate, and can be mapped independently of the main dress.
Dang. I had already tried it out in Daz, obviously with gaps in the "frills" ...I just didn't want to much around and arrange every single edge o_o;; It looks to be the least destructive way though! Bridging isn't quite what I want either, and yes, UV mapping will be easier. :)
Thank you!
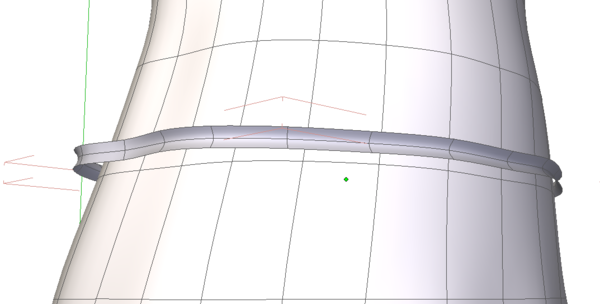
Not sure if this is exactly what you want, but it works. Using the edge tools gives you the thickness of the thrill and to keep the shape after smoothing. After you have gone through the steps in the pic - Extrude the top face up (please note, in the example I have extruded the face outwards twice, this will keep the shape better), move it to where you want then do the same with the bottom face. Basically, I would do it as if you were making a profile of a "T" on its side.
Thank you for the advice! I'll give it a try!